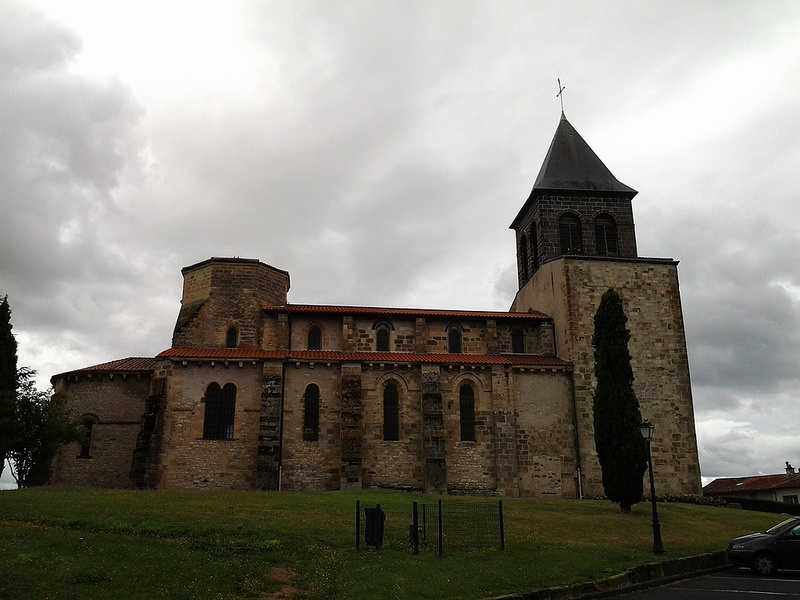
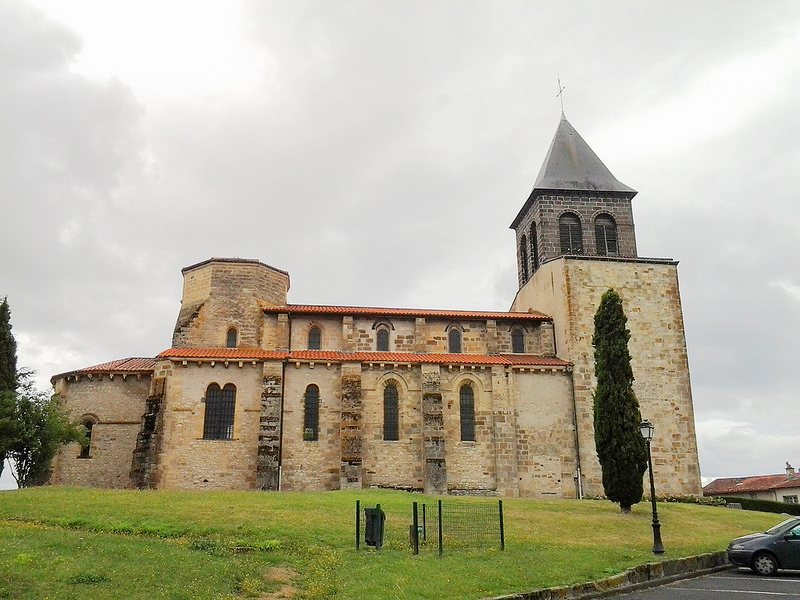
Motivation
One loves adding colors to his/her life by adding stunning photos to his/her social media profile. However, due to various constraints, such as weather, budget and time, it’s possible that the photos taken look dark and somber.
Despite a suboptimal choice of camera angle, a right tool enables you to take the best out of the photo. Let’s go GIMPing.
Image shrinking
When the canvas size (of mobile devices) is much smaller than the photo width, the photo can be shrinked so as to save bandwidth. To minimize the impact of the shrinking process on the image quality, one may use either the Sinc interpolation in GIMP 2.8, or the NoHalo method in GIMP 2.10.
The former has been replaced by the later during the development of GIMP 2.10.
Operate on LAB colors
Rationale
Among the color spaces, LAB has the largest color gamut. This provides the widest range of colors.
| Channel | Color components |
|---|---|
| L | – |
| A | – |
| B | – |
The ‘L’ stands for “lightness” or “luminosity” .
Decomposition
This trick boosts the contrast of the photo .
- Color → Components → Decompose
- Select LAB for Color model in the drop-down list.
- To select a specific channel, click on the right layer in the popup window.
L channel
- GIMP 2.8: You may apply the legacy Unsharp Mask (Filters → Enhance → Unsharp Mask) on the image.
- GIMP 2.10: The above process is simplified thanks to G’MIC’s Octave Sharpening (start from a scale of 6).
Three parameters controlling the sharpening process:
- unsharp radius (2–10): a white boundary will be created if it’s set too high. The greater the value, the sharper the image.
- amount (0.4–1.2): control the amount of contrast. The greater the value, the sharper the image.
- threshold (0/9): the minimum contrast for the sharpening to take effect. The smaller the value, the sharper the image.
The numbers in the brackets are for reference only. Pleas preview the effect and adjust them to your own needs.
Some Adobe Photoshop users prefer smaller values for the above parameters.
A,B channels
If the photos is a bit but not too dark, steepening the color curve using Colors → Curves can be a great technique.
Make sure the color curve passes through the center of the graph to avoid unwanted color distortion.
Recomposition
- Color → Components → Recompose
- Change back to original window.
Shift color levels
For photos taken in dark conditions, shifting the color levels using Colors → Levels can help. In the graph of input levels, the three pointers can be adjusted to rescale the histogram.
Barber’s Tricks
I followed his steps on TurboFuture to get the photo below.
The cheap trick works so quick and easy to apply. This becomes my valuable skill.

